Double Sided Print and Cut Silhouette CAMEO Designs
It's a more advanced technique - but one that I suggest you master because it comes in really handy. I've used it to make everything from greeting cards to little printables for my kids with this front/back print and cut technique.
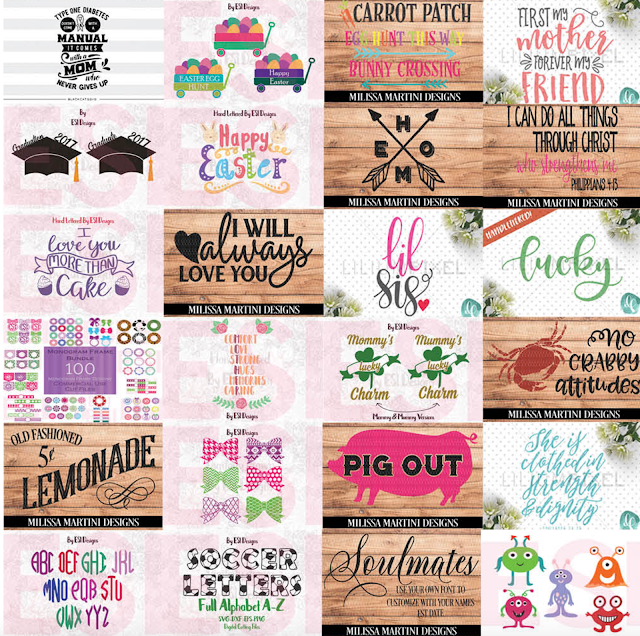
To keep this Silhouette CAMEO tutorial as simple as possible, I'm going to demo how to do a double sided print and cut with just a 2 dimensional design from Craft Bundles[1]. These cute little alien guys will be printed the same on both the back and front. Once you understand how to do a double sided print and cut you can get into more advanced techniques like printing different things on each side or printing shaped or 3D items like cards.
Alright so let's get started. As I mentioned I am using the commercial use graphics from the Space Alien Set from the new April Craft Bundles bundle[2]. These types of graphics sets are perfect for double sided designs since there are usually so many adorable graphics!!
I'm going to fly through some of the basics quickly, but I'll link to tutorials if you need more info on any of the steps.
First start by bulk importing the graphics into Silhouette Studio[3].
If you are working with several different designs, as I am here, use the Merge function to open the designs in the same Silhouette Studio work area[4] .
Set up the page for a print and cut[5] by adding the registration marks and making sure the designs are set to cut edge only and sized appropriately.

Onc e you have everything laid out correctly in the work area, group all of the designs together.
Now this is where you'd normally just go forward with print and cut.
But for a Silhouette CAMEO double sided print and cut, we need to take a few extra steps. Select the large (single) group of designs and from the Align tool click "Center to Page." This will put the group of designs EXACTLY in the center of your page.
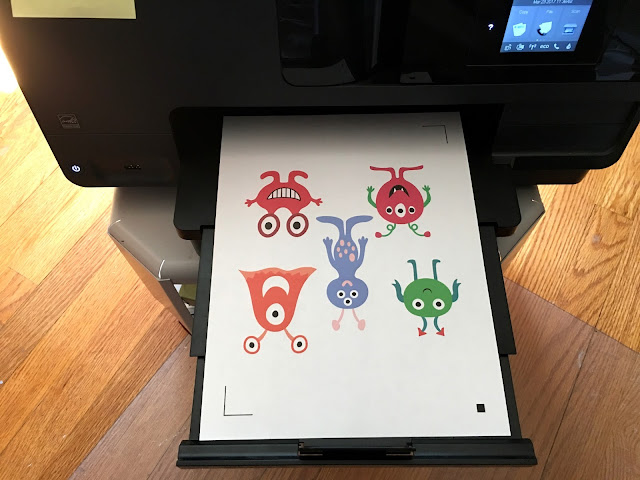
Now go ahead and print to your printer.
Alright - now you're going to break the cardinal rule of Print and Cut. You're going to change the design in Studio between printing and cutting. Select the group of designs > right click > flip horizontally. The group should still be centered to page, but to be sure go back to Align > Center to Page.
Turn off the registration marks by clicking M on your keyboard.
Take the printed sheet from the printer and put it back in the paper tray.
Make sure it's oriented so it prints on the opposite side, but in the same direction. For me - and the printer I use with my Silhouette CAMEO - that means putting the paper in the tray so the printed side is up and the bottom of the page is nearest to me.
Back in Studio click "Print" again.
After it's printed go back to your Silhouette Studio work area and click UNDO several times - JUST enough that you get back BEFORE where you flipped your design. You want to get back to exactly where your design was when you printed the first time.
Now...put the printed paper on your Silhouette cutting mat. The registration mark side should be facing up (we took them off the back side so you would remember which was the front). Move forward with cutting after selecting the correct Cut Settings and material from the Cut Settings window.
When you're finished cutting...you should have a set of perfect double-sided print and cuts made with your Silhouette cutting machine!
And since it's impossible to show you the back and front at the same time in a photo...here's a quick flip video to show you the front/back Silhouette print and cuts.
Now that you know how to do that head on over to Craft Bundles[6] and check out this amazing April Bundle[7]. I promise you'll start to see the possibilities of double sided print and cut in all of the graphic packs!! Hurry though this deal only sticks around for a few weeks!
Note: This post may contain affiliate links. By clicking on them and purchasing products through my links, I receive a small commission. That's what helps fund Silhouette School so I can keep buying new Silhouette-related products to show you how to get the most out of your machine!
References
- ^ Craft Bundles (craftbundles.com)
- ^ April Craft Bundles bundle (craftbundles.com)
- ^ bulk importing the graphics into Silhouette Studio (www .silhouetteschoolblog.com)
- ^ Merge function to open the designs in the same Silhouette Studio work area (www.silhouetteschoolblog.com)
- ^ Set up the page for a print and cut (www.silhouetteschoolblog.com)
- ^ Craft Bundles (craftbundles.com)
- ^ April Bundle (craftbundles.com)
- ^ Subscribe Here (www.silhouetteschoolblog.com)
- ^ (www.silhouetteschoolebook.com)


