How to Use iPad Pro and ProCreate Designs with Silhouette Studio - needs work
I'm so excited to have the very talented Gina from Twinklefarts[1] on the blog today to show us how to use ProCreate with Silhouette Studio
Hi there, Silhouette School readers! My name is Gina (or Twinklefarts[2], if you prefer) and I too am a Silhouette addict... just like you. Today I'm have the pleasure of teaching you how to utilize Procreate in your Silhouette Studio workflow! (You'll want to stay to the end... I hear there might be some freebies involved ;)
Back when I got my Silhouette Cameo for Christmas, I had no idea the power that it held. I'm a web and graphic designer and all-around tech guru, so being able to use my everyday tools with my Silhouette has been a blessing! Today I'm going to teach you how to use something that I just recently added to my arsenal-- an iPad Pro.
The iPad Pro comes with the ability to use pre ssure sensitivity for apps like the one I'll show you today (Procreate), but even older generations of iPads can use Procreate to create designs that you can later cut in Silhouette Studio.
The one true perk to an iPad Pro + an Apple Pencil is the variation in line weight (see below), but any iPad can do what I'm about to show you.
For the techniques in this tutorial, you'll need the following:
- iPad of any generation (a Pro is necessary for Apple Pencil use, but you can use a compatible stylus of your choice as well)
- Procreate app (found here[3], $5.99 but well worth the investment if you're doing this daily like I have been)
- Apple Pencil (optional, but I love mine and would buy it over and over again)
- A basic understanding of Procreate (YouTube[4] is a great resource for learning the basics)
Spend some time getting to know Procreate and all its tools! Download some brushes, doodle a bit, and explore. Keep in mind that for this tutorial, you'll want to use a solid dark colored brush. I love the "Fancy Finesse" brush, which you can find here[5].
Note: See the Calligraphy Crayon brush I have in my brush tray? That's not a good choice for this technique. It'll give too many holes and create a distressed disaster in Silhouette Studio.
Once you have created a design in ProCreate that you want to cut with your Silhouette, the first step is to turn off the background layer in Procreate. Tap the layers button to show all the layers and uncheck the checkmark next to the layer titled "Background color."
Doing this will make the "background" of your document a dark grid, but don't panic-- when you export it as a .PNG later, that background will be transparent.
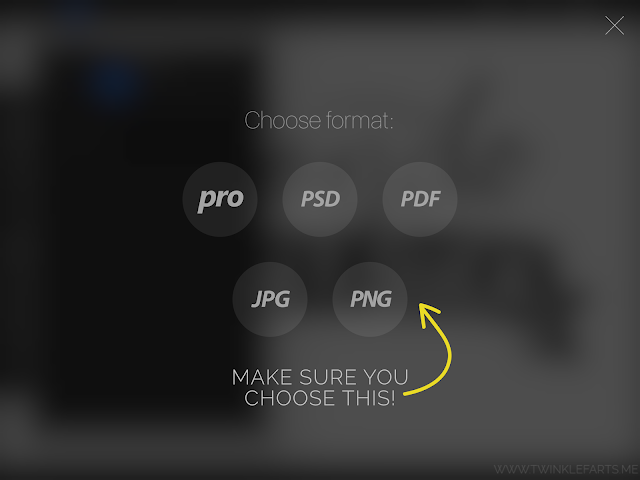
Once your background layer is turned off, it's time to send your design to yourself so that you can cut it in Silhouette Studio. Tap the wrench in the top left corner and go to the "Share" button. In there, you'll want to "Share Artwork" and use the options to move it to your computer.
The important part here is to make sure you select PNG for your export! This is the key to getting a frustration-free trace in Silhouette Studio.
For the next step, I use Airdrop because it makes things easy peasy between my iPad and Mac computer. You can also opt to email the file to yourself, or use Dropbox or a similar cloud-based drive.
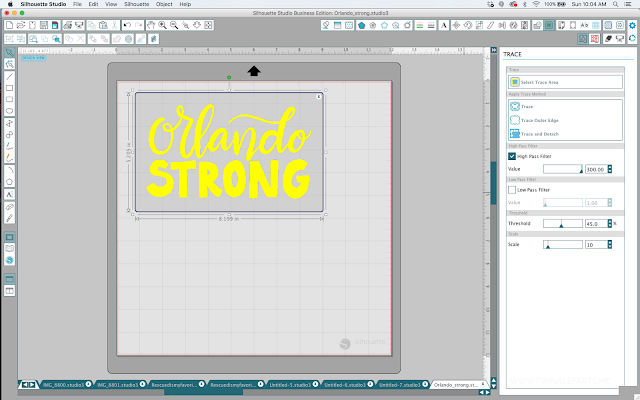
Once you have your design on your computer, drag it into a new document in Silhouette Studio. If you did the PNG export successfully, you'll notice that there's no white background behind your design... yay! That's what we want.
Go ahead and trace as you normally would, making sure to move the tracing box so that it covers all of your design.
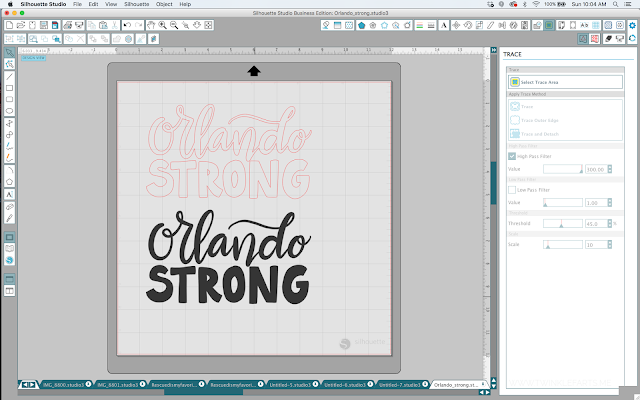
Once you've traced your design, you can move around elements that aren't touc hing. Select your traced design, right click, and click "Release Compound Path." Then, drag a selection box around the elements you want to group together, right click, and "Make Compound Path." This will also allow you to fill your designs with colors, gradients, or patterns.
I ended up opting for a rectangle and solid sans serif font instead of a hand-lettered "strong." Since I didn't overlap my two lines of letters, I was able to separate out "Orlando" from "strong" to achieve this effect!< /p>
Procreate has definitely upped my designing game with Silhouette Studio, and I no longer find myself hunting through SVGs and the Silhouette Design Store to find specific things-- I just make them myself! I hope this tutorial helps you utilize your iPad Pro to its fullest potential with Silhouette Studio.
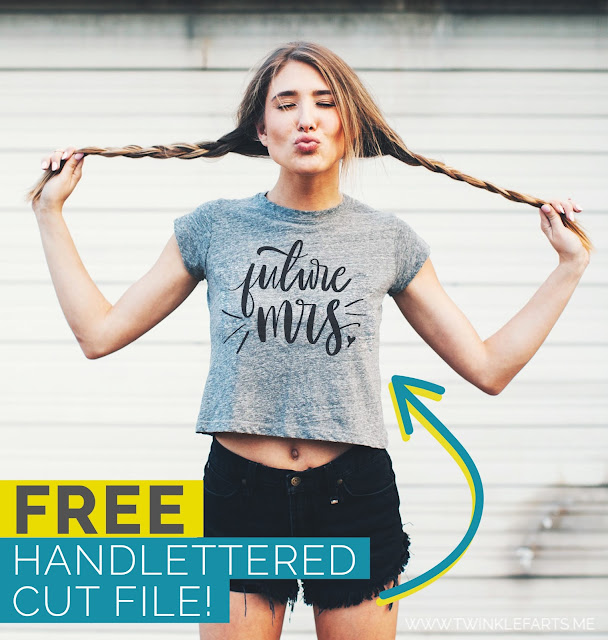
By the way, if you've made it this far I've got a treat for you. Be sure to download the free "Future Mrs." cut file[6] I designed exclusively for Silhouette School readers! It's for personal use only. I hope you enjoy it, and until next time...
-Gina from Twinklefarts
Note: This post may contain affiliate links. By clicking on them and purchasing products through my links, I receive a small commission. That's what helps fund Silhouette School so I can keep buying new Silhouette-related products to show you how to get the most out of your machine!
References
- ^ Twinklefarts (www.twinklefarts.me)
- ^ Twinklefarts (www.twinklefarts.me)
- ^ found here (itunes.apple.com)
- ^ YouTube (www.youtube.com)
- ^ find here (www.behance.net)
- ^ download the free "Future Mrs." cut file (eepurl.com)
- ^ Subscribe Here (www.silhouetteschoolblog.com)
^ (www.silhouetteschoolebook.com)


